Imagine cruising down the open road, enjoying your favorite songs on the radio, when suddenly, without warning, the stations start changing on their own. A frustrating and bewildering experience, no doubt.
But, if Chevy Silverado Radio Changes Stations by Itself, there are easy fixes for it.
Chevy Silverado radio changing stations by itself happen due to touchscreen damage, faulty buttons, sticky steering wheel buttons, loose wire connections, or a faulty radio. Possible solutions include replacing the touch screen or buttons, cleaning sticky buttons, fixing wire connections, or installing a new radio.
Keep on reading to find out more!
Chevy Silverado Radio Changes Stations by Itself: 5 Causes & Solutions
Investigate the remedies for the problem of a Chevy Silverado radio changing stations on its own. Find out how to install a new radio, clean sticky buttons, adjust cable connections, or replace the touch screen or buttons.
| Causes | Solutions |
| Touch Screen Damage | Replace the Touch Screen |
| Faulty Buttons | Replace the Buttons |
| Sticky Steering Wheels Button | Clean the Button |
| Loose Wire Connections | Fix The Wire Connections |
| Faulty Radio | Install New Radio |
Cause 1: Touch Screen Damage
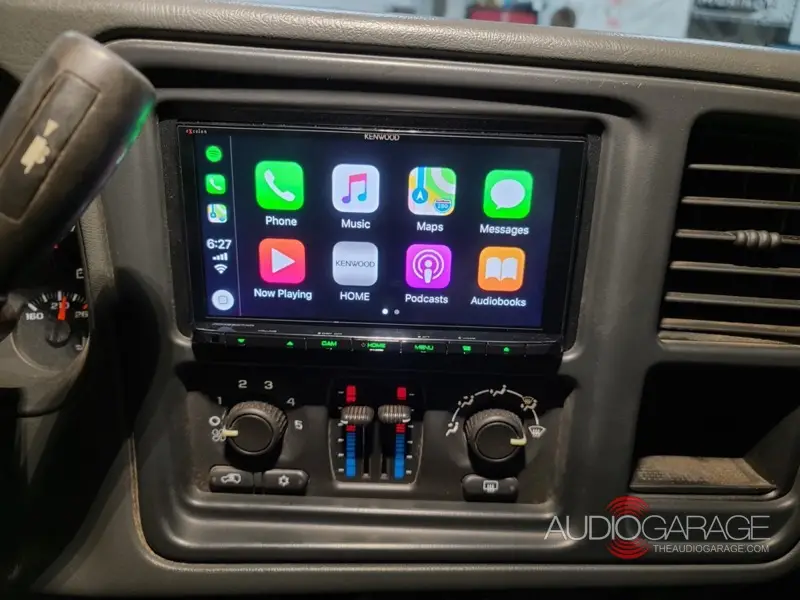
One possible cause for the radio changing stations on its own is touch screen damage. If the touch screen is not functioning correctly, it may register unintended touches, leading to the radio changing stations unexpectedly.

Solution: Replace the Touch Screen
The process of replacing the car radio touchscreen can be summarized in the following bullet points:
- Gather the necessary tools: Screwdriver, trim panel removal tool, and prying tool.
- Disconnect the car battery: This ensures safety and prevents any electrical mishaps during the replacement process.
- Remove the trim panels: Carefully pry off the trim panels surrounding the radio unit using the trim panel removal tool.
- Unscrew and remove the old touch screen: Locate the screws holding the touch screen in place and remove them using a screwdriver. Disconnect any wire connections attached to the touch screen.
- Install the new touch screen: Connect the wire connections to the new touch screen and secure it in place using the screws removed earlier.
- Reassemble the trim panels: Put back the trim panels by snapping them into place.
- Reconnect the car battery: Restore power to the car by reconnecting the battery.
- Test the new touch screen: Turn on the car radio and ensure that the new touch screen is functioning properly by checking its responsiveness and features.
Cause 2: Faulty Buttons
Another common cause is faulty buttons on the radio system. If the buttons are worn out or damaged, they may send incorrect signals, resulting in the radio changing stations without your input.

Solution: Replace the Buttons
The process of replacing car radio buttons can be explained in the following bullet points:
- Access the buttons: Once the trim panels are removed, you will have access to the buttons on the radio unit.
- Remove the old buttons: Identify the screws or clips holding the buttons in place and remove them using a screwdriver or by releasing the clips.
- Disconnect wire connections: If there are any wire connections attached to the buttons, carefully disconnect them.
- Install the new buttons: Connect the wire connections to the new buttons and secure them in place using screws or clips.
- Reassemble the trim panels: Snap the trim panels back into place, ensuring a secure fit.
Cause 3: Sticky Steering Wheels Button
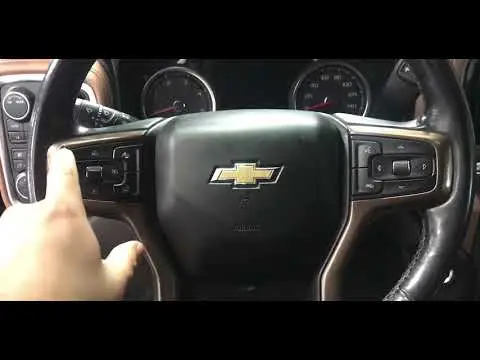
The steering wheel buttons in the Silverado are convenient for controlling the radio system. However, if one of the buttons becomes sticky due to dirt or debris, it may trigger unintended inputs, causing the radio to change stations unexpectedly.
Solution: Clean the Button
To clean a sticky steering wheel button in your car, follow these steps:
- Gather the necessary materials: Mild cleaning solution, a soft cloth, and a small brush or toothbrush.
- Turn off the car engine: Remove the car key from the ignition for safety.
- Dampen the soft cloth: Do this with the mild cleaning solution. Ensure that the cloth is not dripping wet.
- Gently wipe the sticky button: This is done by applying light pressure to remove any dirt or debris.
- Scrub the Button: If the stickiness persists, use a small brush or toothbrush to gently scrub around the button, removing any stubborn residue.
- Remove any moisture: After cleaning, use a dry cloth to wipe away any moisture or cleaning solution.
- Test the button: Do this to ensure it moves freely without sticking. Repeat the cleaning process if needed.
Cause 4: Loose Wire Connections
Loose wire connections can also be a culprit behind the radio changing stations on their own. If the wiring connecting the radio system is not securely connected, it can result in intermittent signals and erratic behavior.
For this, you should know if all wiring harnesses are in the right order.
Solution: Fix The Wire Connections
To fix loose wire connections in your car, follow these steps:
- Gather the necessary tools: Appropriate screwdriver or socket wrench.
- Turn off the car engine: Also disconnect the car battery for safety.
- Identify the loose wire connections: Inspect the wiring behind the radio unit or in the area where the loose connections are suspected.
- Tighten the connections: Use the screwdriver or socket wrench to securely tighten any loose screws or bolts on the wire connections.
- Recheck the connections: Ensure that all connections are properly tightened and secured.
- Reconnect the car battery: Restore power to the car by reconnecting the battery.
- Test the system: Turn on the car and check if the radio functions properly without any unexpected station changes.
Cause 5: Faulty Radio
In some cases, the radio unit itself may be faulty, leading to unexpected station changes. Internal malfunctions or software glitches can cause the radio to act erratically.
Solution: Install a New Radio
To install a new car radio, follow these steps:
- Gather the necessary tools: Screwdriver, wire cutters/strippers, crimping tool, and dash kit (if required).
- Disconnect the car battery: For safety purposes.
- Remove the trim panels: It’s done around the existing radio using a trim panel removal tool.
- Disconnect connected parts: Unscrew and disconnect the wiring harness and antenna cable from the old radio.
- Take the old radio out: Remove the old radio unit from the dashboard.
- Place the new radio: Install the new radio unit into the dashboard, following the manufacturer’s instructions.
- Reconnect the components: Connect the wiring harness and antenna cable to the new radio, ensuring a secure connection.
- Screw the radio: Secure the radio in place by screwing it into the dashboard.
- Reconnect the car battery: Ensure the terminals are connected properly.
- Test the system: Test the new radio to ensure it is functioning correctly.
Frequently Asked Questions (FAQs):
What should I do if my new car radio is not working after installation?
If your new car radio is not working after installation, double-check the wiring connections to ensure they are properly connected. If the issue persists, consult the manufacturer’s troubleshooting guide or seek professional assistance.
Can I install a new car radio myself, or should I seek professional installation?
While it is possible to install a new car radio yourself, it depends on your technical skills and comfort level. If you’re unsure or want to ensure proper installation, seeking professional installation is recommended.
What should I do if my new car radio is not working after installation?
If your new car radio is not working after installation, check the wiring connections to ensure they are properly connected. Verify that the radio is receiving power and consult the manufacturer’s troubleshooting guide or seek professional assistance if needed.
Bottom Line
If your Chevy Silverado radio changes stations by itself, it can be frustrating but fixable. By addressing possible causes such as touchscreen damage, faulty buttons, and more, you can find the appropriate solutions, whether it’s replacing components or performing cleaning and maintenance.
Don’t let this issue persist, take action and restore the joy of listening to your favorite tunes on the road.