Simple step-by-step guide to taking out a car radio. Process for removing the stereo from your vehicle without special tools.
By just looking at the radio console in your car from the outside, the task of removing it may seem a bit overwhelming and stressful. You aren’t sure exactly which tools you will need, what steps you need to follow, or if you can cause permanent damage in trying to remove it.
There are actually several ways to take out a car radio and we will review some of the more out-of-the-box solutions that will only require tools that most of us already have lying around the house. Depending on the vehicle you have and the radio installed in it, this can actually be a very simple and straightforward process that will need just a bit of knowledge and some patience to make it happen.
Removing Your Radio, One Step at a Time
Just 20 years ago, removing your car’s factory-installed radio console was a job you often had to hire an audio specialist or at least a mechanic in order to complete. This was a costly process because you were forced to pay for the new parts as well as the labor and knowledge of the person doing the work.
Now it is easier than ever to do these kinds of projects yourself because a whole community of audio and automobile enthusiasts has arisen on the internet. We are constantly sharing information so that you can almost always find someone who has already successfully completed the project you would like to attempt. And there is no greater feeling than setting your mind to accomplishing an upgrade like this and finally pressing play knowing that you did it all on your own. Not to mention counting the money it saved you!

Though this can be a simple process in many cases, make sure to read each step carefully and don’t get too confident and skip one. Now let’s walk through the steps of taking out your car radio:
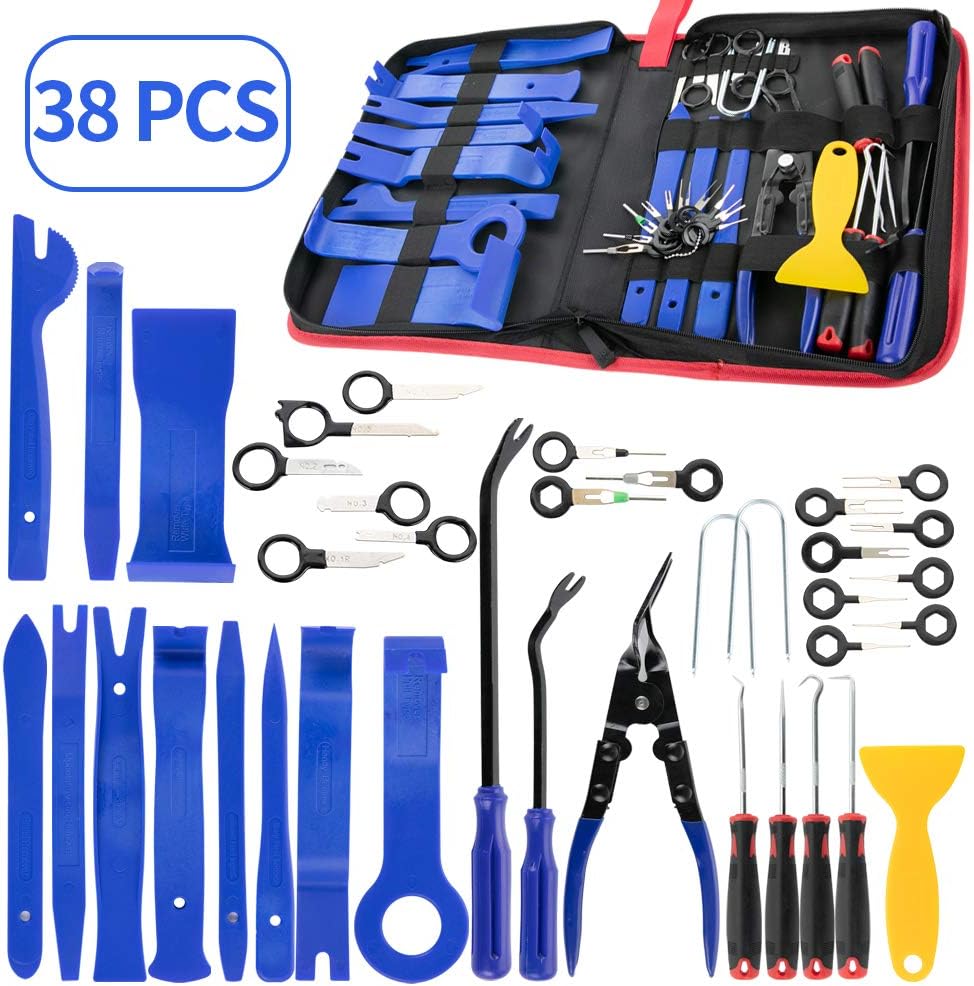
Step-1: What Tools You Will Need: Though some vehicles and radio consoles require special tools to remove, in the majority of cases you will only need a flathead and Phillips screwdrivers, a socket wrench (for the battery; further information below), and possibly pliers. In more difficult cases, people have also reported using bent wire hangers or flat pieces of metal depending on the mechanism that holds the radio in place.

Step-2: Disconnect the Battery: Don’t skip this step! Failing to properly disconnect the battery can result in a shock or short that could damage you or your vehicle. Remove the negative terminal from your battery and place it to the side. Then do the same with the positive terminal, taking extra caution that there is no chance it will contact anything metal that will produce sparks. Make sure the positive and negative cables never touch!

Step-3: Remove the Control Panel: Steps 3 and 4 may be in the reverse order if you have an older vehicle because all of the screws and bolts are now typically hidden below the plastic paneling that surrounds the radio. Assuming you need to remove the control panel first, gently wedge a small flathead screwdriver into the crack and wiggle it around to loosen the panels until you can pop it off completely. Keep in mind that the key is to be patient and gentle because cracking this piece could turn out to be an expensive fix. Some people prefer to use a plastic pry bar or a kit sold specifically for this purpose at auto parts stores or through the internet to avoid potential damage.

Step-4: Remove Any Exposed Hardware: When you reach the point that the screws/bolts are exposed, whether before or after removing the paneling, remove them all carefully. Remember to keep track of them so you know how to put them back in later.
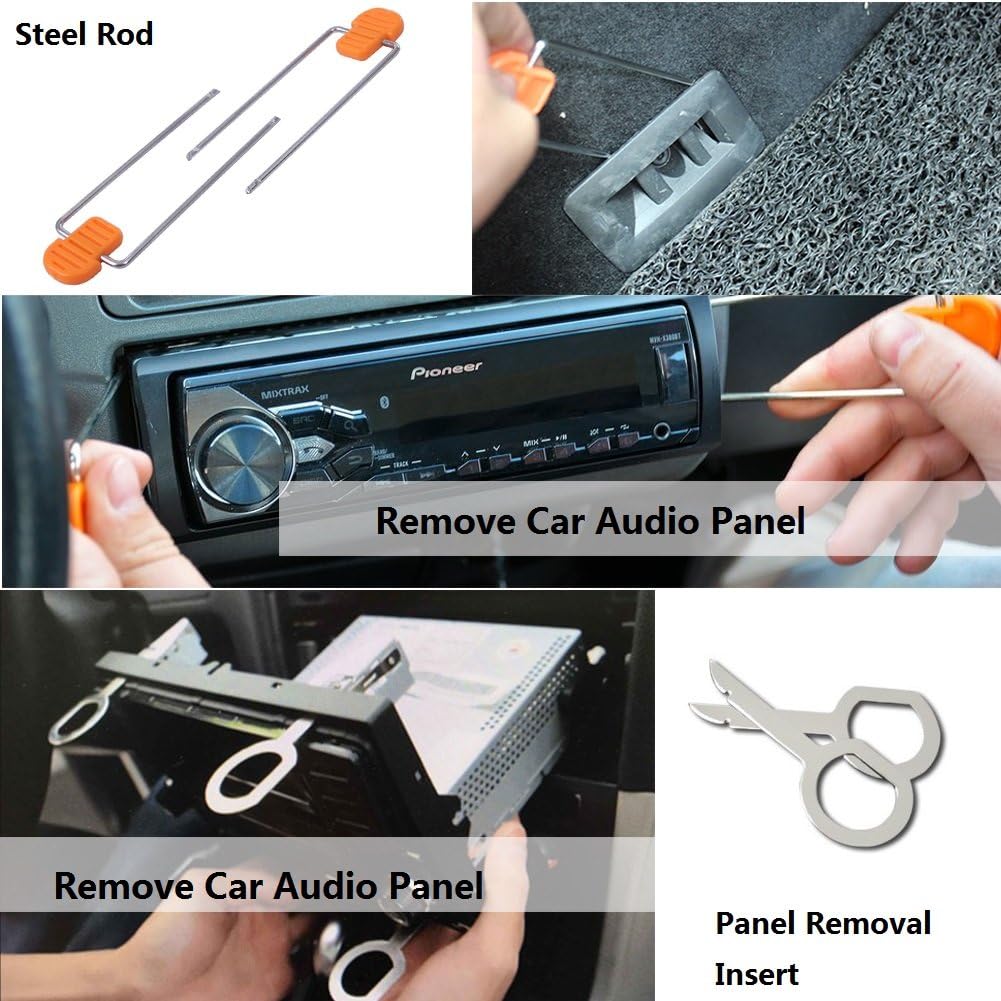
Step-5: Unlock the Stereo Body: Once the body of the stereo is exposed, you must locate one slot on each side (sometimes 2 holes per side in certain vehicles). These locks hold your stereo in place and each side must be unlocked at the same time. For the slot model, you can purchase stereo keys (or DIN keys) but many are able to do it with a thin piece of metal like a kitchen knife. For the 2 hole models. a bent wire hanger tends to work best.
Push in your tools on both sides at the same time until you hear a click. Sometimes there is no click, so gently try to remove the radio anyway. Be careful to make sure your tools stay in the holes/slots because if removed, the locks will clip the radio in again.
Some radio consoles do not use this clip design and instead simply have more hardware to remove before you can slide the unit out. Remove and keep careful track of all of the bolts and screws because you will need to know exactly where they go during the reassembly process.

Step-6: Removing the Stereo Body: Now that you have removed all of the mechanisms that keep the stereo body in place, it’s time to carefully slide it out. Hold it by the outer edge and pull it straight toward you, wiggling it slightly if necessary. However, do not pull too quickly or let it drop once you have pulled it free because it is still connected to the wiring in the back! This could potentially cause damage to both the unit and the wiring.
Step-7: Unplugging the Radio: You should be able to pull the radio just far enough to be able to see two sets of cables that are connected through plastic plugs to the rear of the radio. One is for the antenna and the other is your electrical connection. The electrical connection is almost always attached with a clamp, so be careful not to just tug it out. However, sometimes the antenna is as well so it’s a good idea to give it a wiggle and proceed gently with both. Be aware that some radios have other separate wires besides these two and you should make sure that all wires are removed before completely removing the stereo body.
Related: How to remove Kenwood car stereo without keys
Your Options Are Endless
And there you have it! You have successfully taken out your car radio without the cost or assistance of a mechanic or specialist. Feels good, doesn’t it? Now you have all the freedom to replace your old radio with something more modern and suited to your desires. Most aftermarket stereo units are designed to one standard size so go out and find the one that best fits your audio needs!
It’s as simple as plugging in, sliding in the new unit, and reversing these steps to secure the radio and console paneling back into place. Just remember to make your best effort to reattach every piece of hardware as it was when you removed it. Otherwise, the radio may fit loosely or become loose over time, which could cause you potential problems in the future.
You Did It!
Many people don’t even consider the option of taking a project that seems as complex as removing and replacing a major electronic feature in their vehicle. In reality, it’s so much more simple and straightforward than it seems, and doing it yourself can both save you money as well as give you a new sense of confidence and knowledge when it comes to maintaining and customizing your vehicle going into the future. We hope this guide to taking out your car radio has been helpful and that you will feel more prepared to take on your next car upgrade, whatever that may be!
Any Further Questions?
Q-1. I have removed the paneling but am having trouble unlocking the stereo body so that I can slide it out. My radio doesn’t seem to have a slot OR 2 pin system holding it in place. What should I do?
There are always exceptions to these two most common design options and several others do exist. Your best bet is to refer to the owner’s manual or do a quick search on the internet to find out more about your model and how other owners have solved the issue you are facing.
Q-2. What should I do with my old stereo after removing it?
That depends entirely on its condition and how desirable the model is. As they say, one man’s trash is another man’s treasure. Though you may not like your current radio, there are others out there who may be searching for it. If it is in good condition, be sure to store it safely and you may find someone who is willing to buy it. It may even earn you some money to put toward your new radio!
Sources
- www.wikihow.com
- www.carbibles.com
- www.readersdigest.ca
- Photo: amazon.com
